
TinkerCAD is a free browser based software developed by Autodesk to inspire more people to start creating. It teaches the fundamental concepts of how things are designed in a simple way that anyone can understand. Within a few minutes, people can begin creating their ideas.
- Go to Tinkercad.com
- Create an account if you don’t already have one by clicking “ Join Now” in the upper right hand corner
- In the websites dashboard click “Create new design”
- This next area is called your workplane; its where all the modeling takes place
Getting to know TinkerCAD
- There are a few basic tools that TinkerCAD offers.
- If you look on the right side of the screen, you will see a drop down menu that offers pre-configured shapes and models. These range from basic shapes to different types of part connectors. Take a few minutes and click through the different options in the menu to learn about the different facets that TinkerCAD offers. I’ll refer to this menu as the Model Menu through these instructions.
- Above the Model Menu, there are three tools:
- Workplane – sets the work plane to a surface you select.
- Ruler – allows you to measure your model as well as get a perspective for its size.
- Notes – allows you to place an annotation about a feature or part of the model anywhere in the workplane.
- In the top right of the screen next to your account icon, there are 3 more options:
- 3D Design – this is defaulted and where you will primarily be working.
- Blocks – this converts your model to a style that resembles the popular game “Minecraft.” This option gives you basic parameters to edit.
- Bricks – this converts your model to individual bricks like Legos for assembly. This also gives you basic parameters to set such as brick size, etc.
- Below these icons is where you can import an existing model, export your current mode, or send your model via email, etc.
- On the top left of the screen you will notice a box that has labels on it such as “top,” “front,” etc. This is how you select different views of the work plane. You can rotate the views by holding the right mouse button or use this box for parallel views.
- Above the view changer box there are two arrows. These are “undo” and “redo.” This allows you to go back in time if you want to remove a feature you recently added and vice versa.
- To the left of these arrows are 4 icons: “copy,” “paste,” “duplicate/repeat,” and “delete.”
- In the top left, to the right of the TinkerCAD logo, there is a menu that allows you to view and visit previous projects. This is also where you can start a new design by clicking “New Design.”
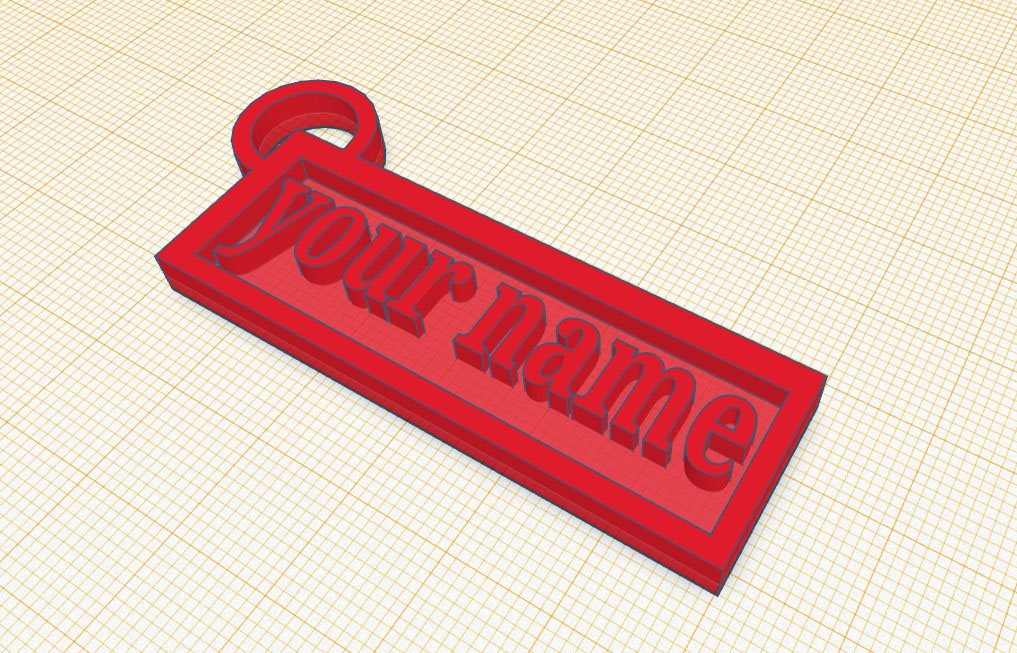
Design Tutorial: Personalized Keychain
This tutorial will show you how to create a personalized keychain with anyone’s name. At the same time, we will cover TinkerCAD basics as well as modeling for printing aspects.
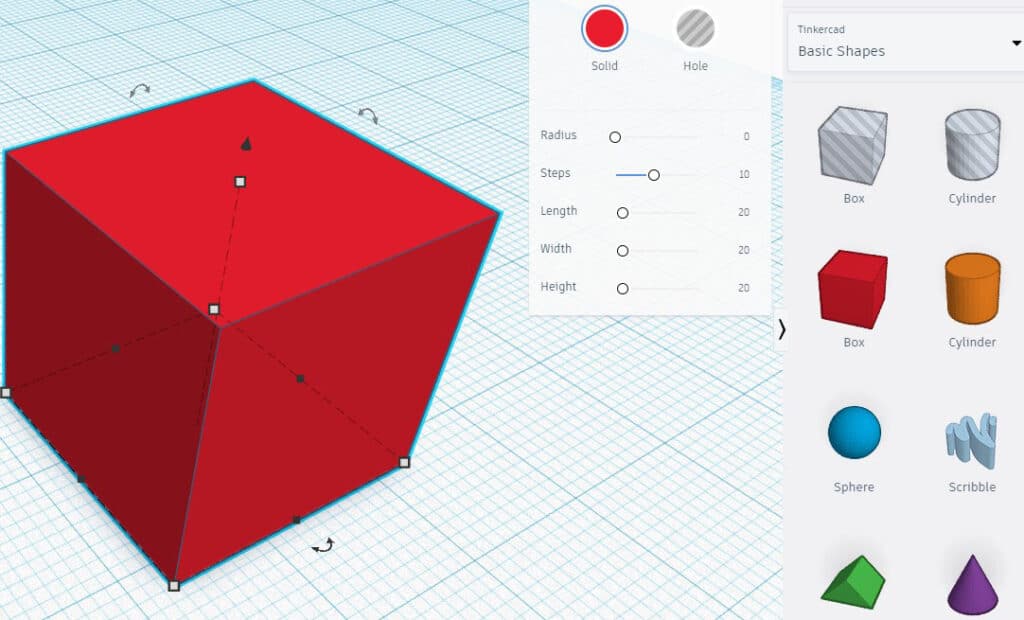
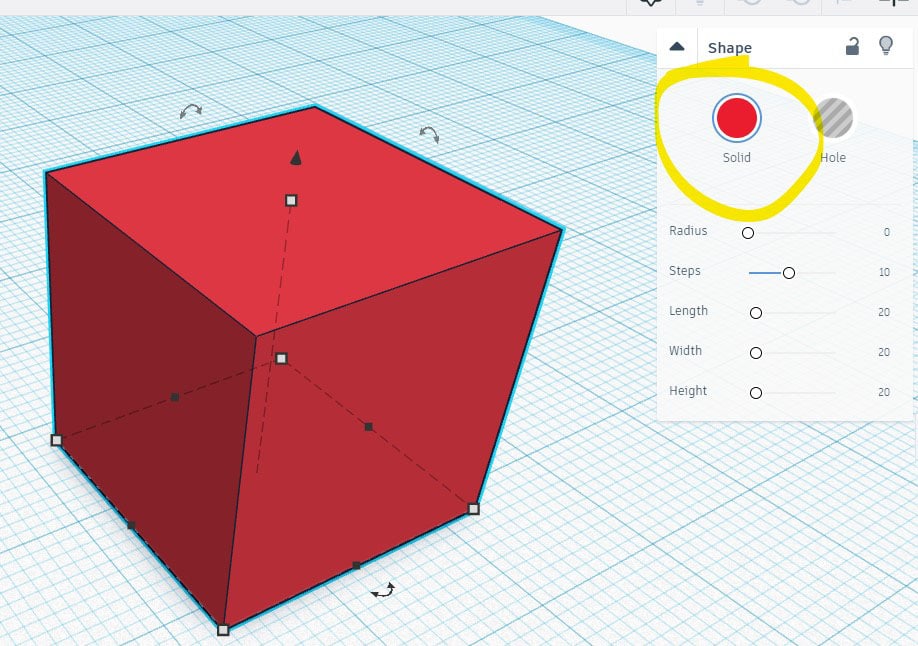
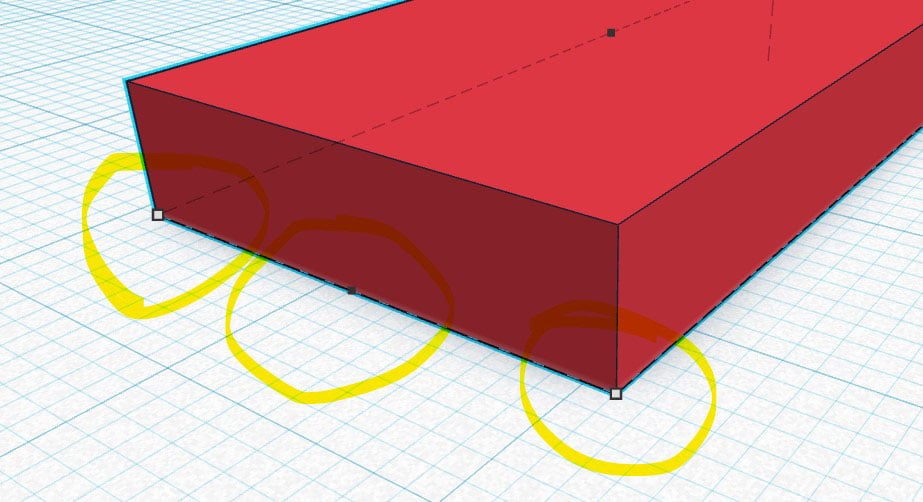
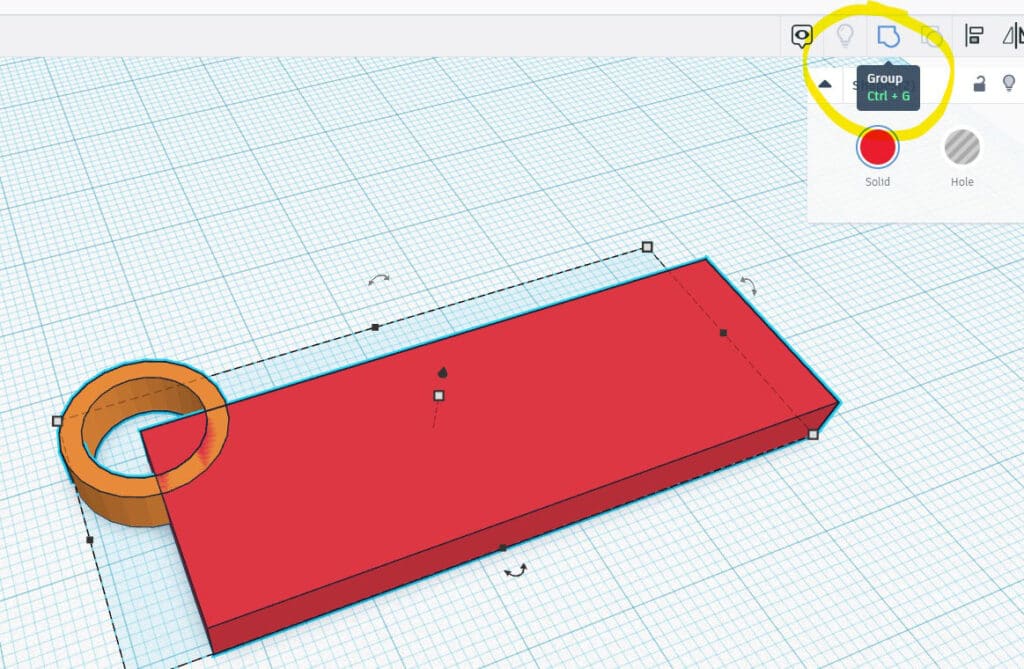
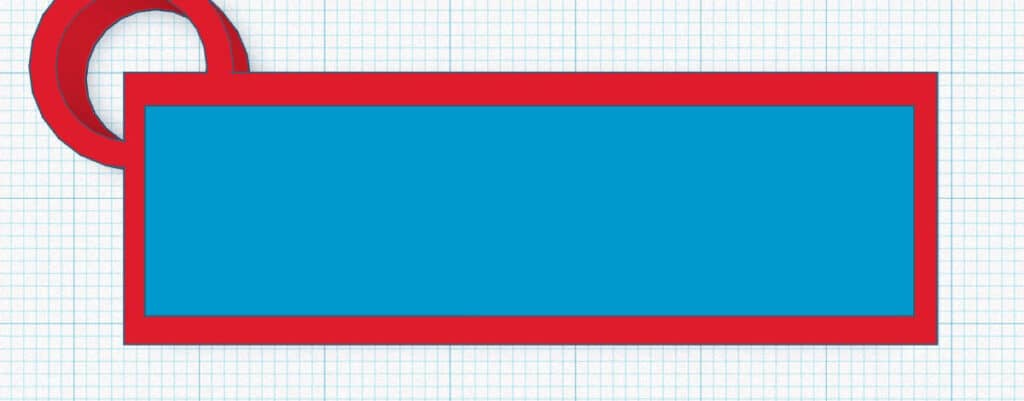
1. In the basic shapes tab on the right side under the Model Menu, drag and drop a box into the work space. Make sure solid is selected and not hole in the shape menu on the right.
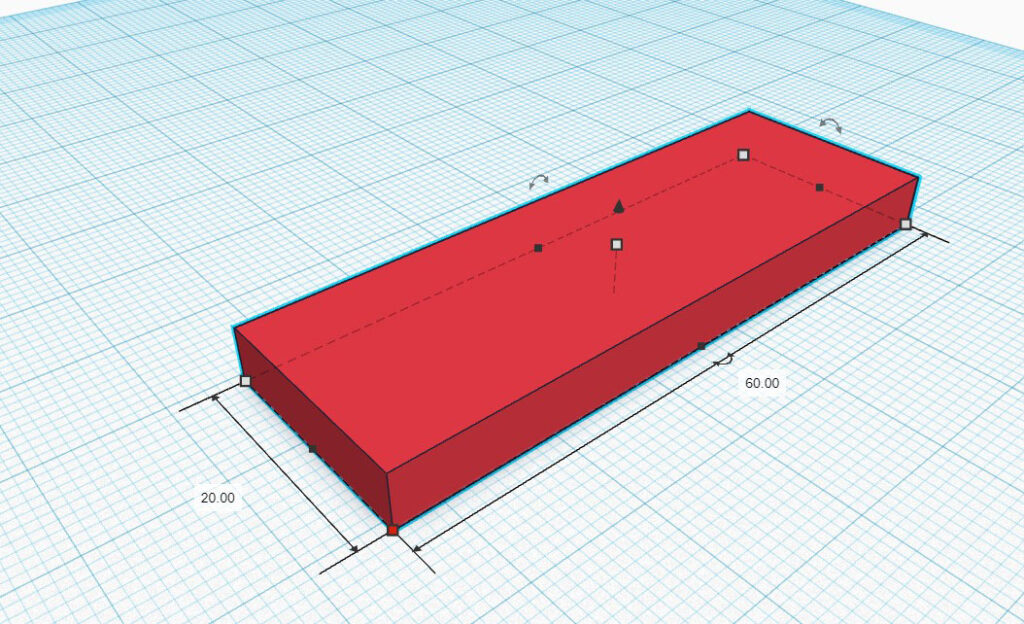
2. Dimension the box as you see fit using the grey or black squares that are on the model when you click on it. For my keychain, I used 20mm by 60mm and 5mm tall.
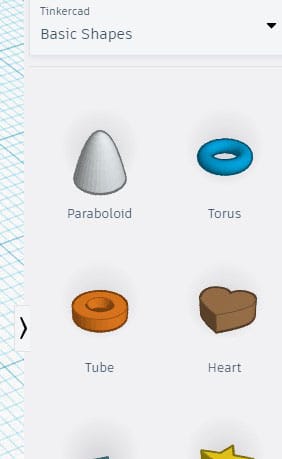
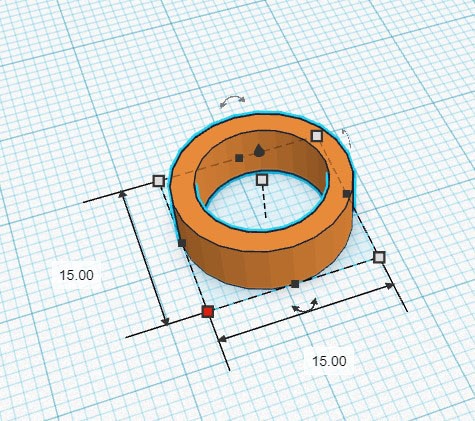
3. Next add a tube from the Model Menu under basic shapes as well. Dimension this as you see fit. I used 5mm tall and 15mm by 15mm.
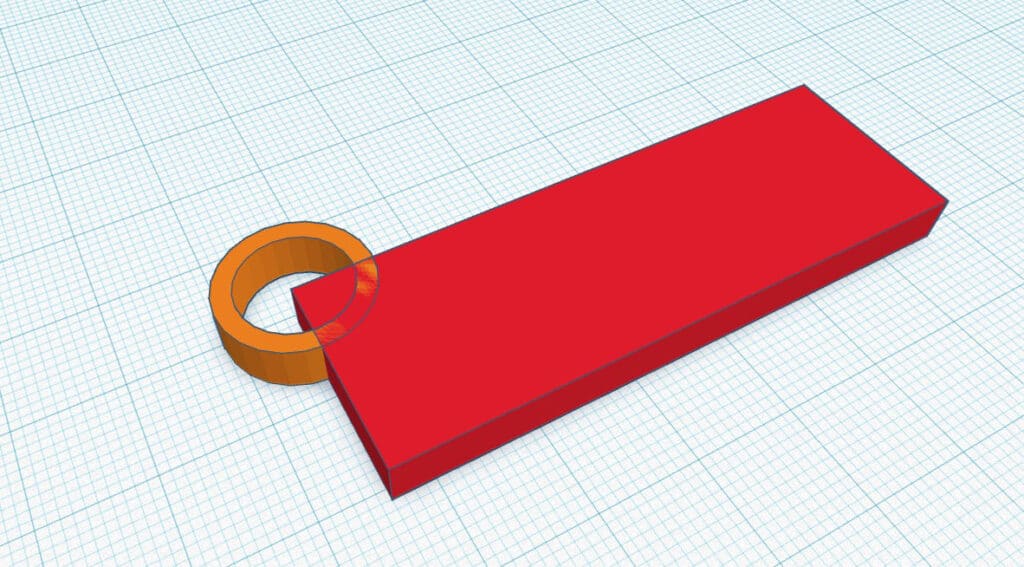
4. Move the tube so that it intersects one of the corners on the box. Select both using either shift click or click and drag a box over both. Select the group in the top right. This will combine both parts.
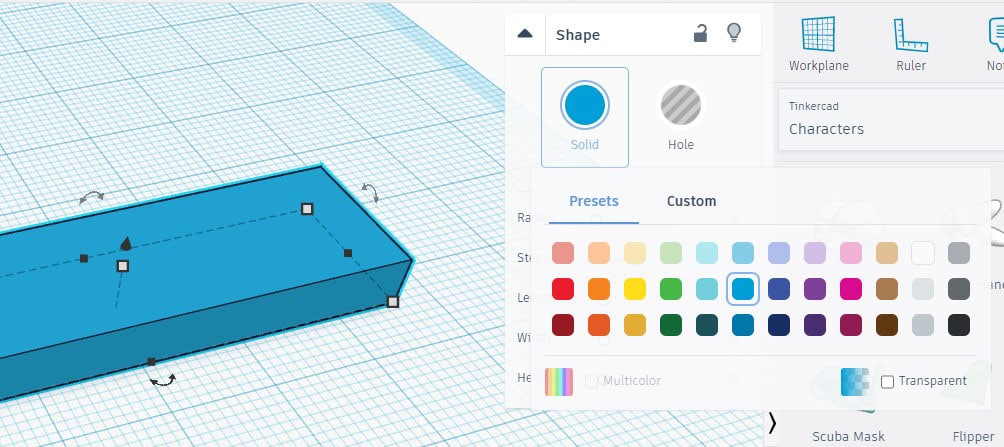
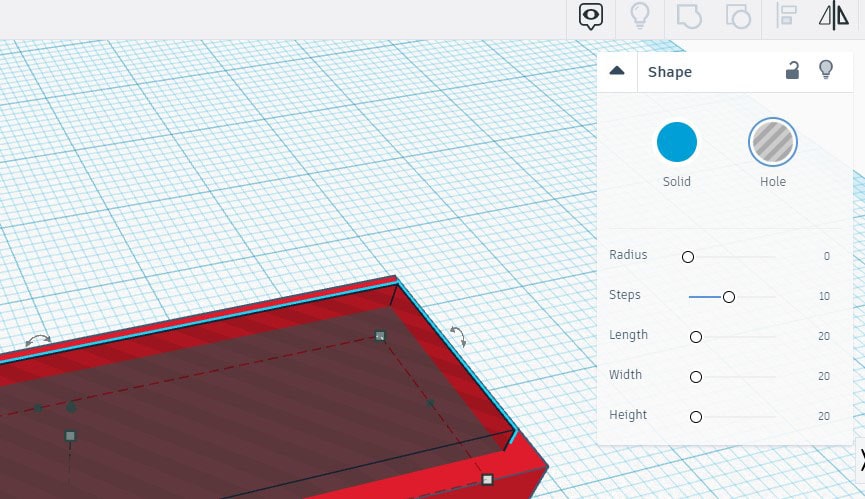
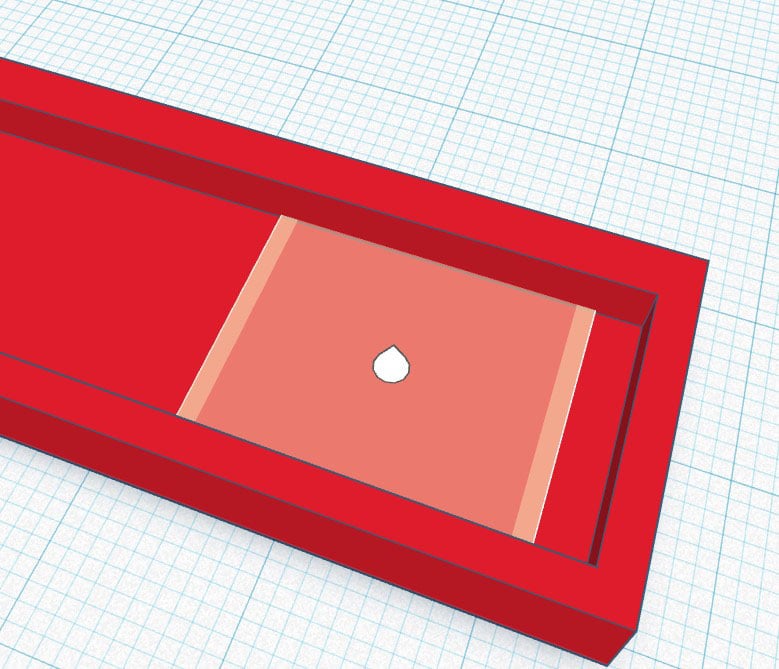
5. Next, we’ll add a space for our name. Drag and drop another box from the Model Menu. It is recommended to make this box a different color by clicking the solid option in the shape menu on the right after selecting the model.
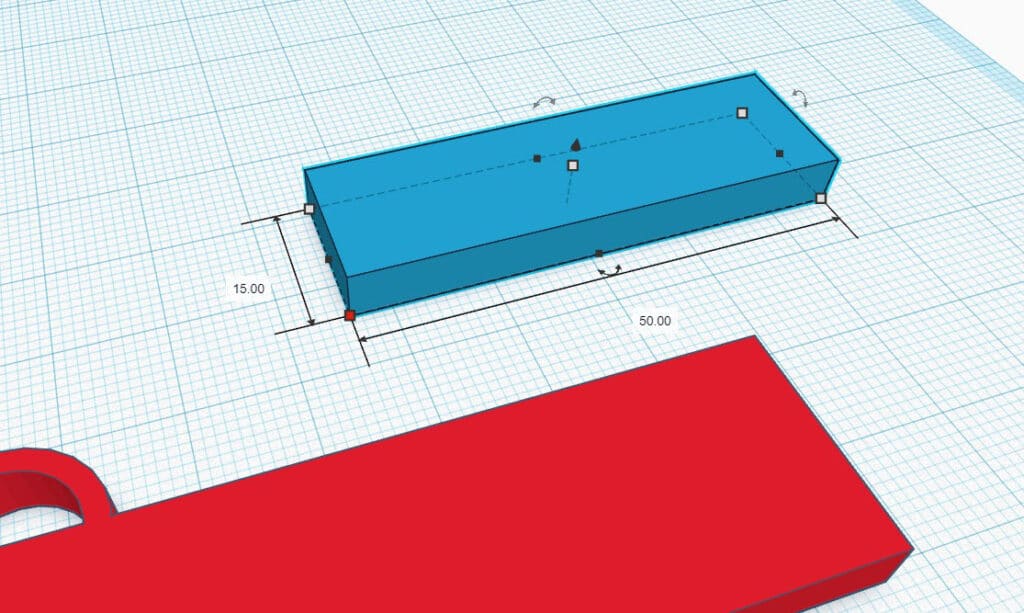
6. Make this box the same height as the other box, but also slightly smaller than the other box in the other axes. I used 15mm tall by 55mm by 5mm.
7. Place the new box in the first box somewhat near the center. You can use the arrows keys on your keyboard to more accurately place models. Then, using the black arrow that is visible when you select the box, raise the new box by 2 or 3 mm.
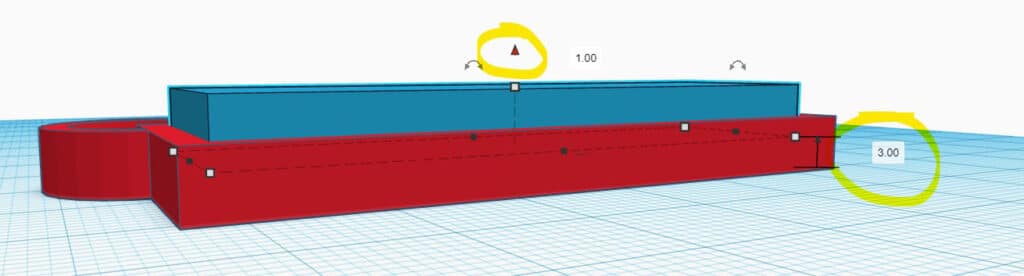
8. With the new box still selected, select hole in the shape menu on the right side. Select both models and click the group in the upper right hand corner to subtract the new box and make a cavity.
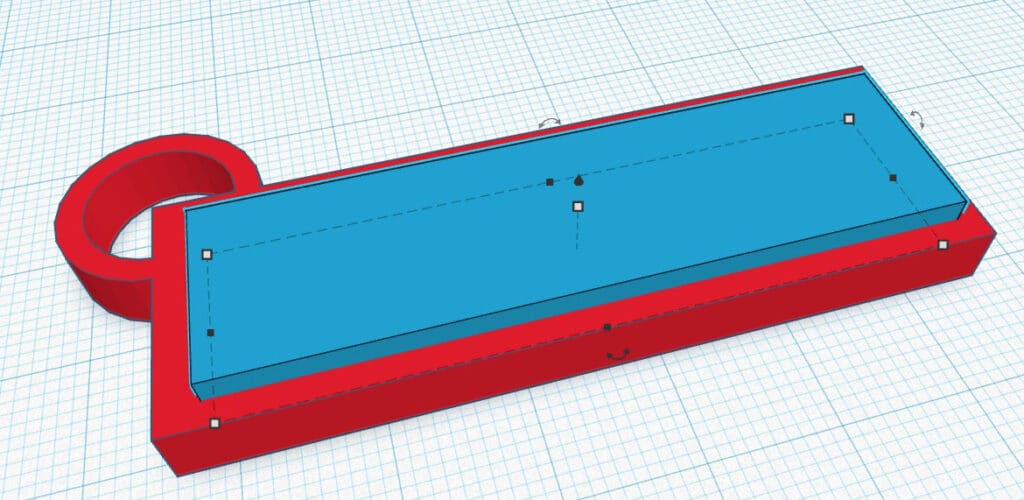
9. Next, select the work plane option in the upper right corner. Click on the big surface of the cavity/impression that was just made. This will create a new work plane that your models will start on when bringing them in.
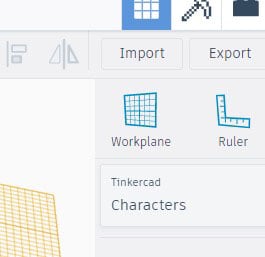
10. Next, in the Model Menu, use the drop down menu to select text and numbers located under basic shapes. Click text and drag into the work space.
11. Click text and in the shape menu and type your desired text (in this case, a name) where it says” text.” You can also edit the font underneath where you change the text.
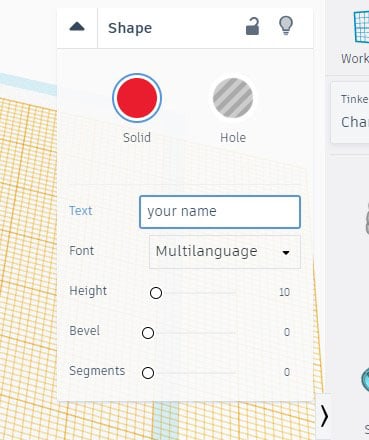
12. Next, we will resize the text like we did with the shapes. Adjust the size using the black or grey boxes that appear when you select the model. I made mine just slightly smaller than the cavity at 3 mm tall.
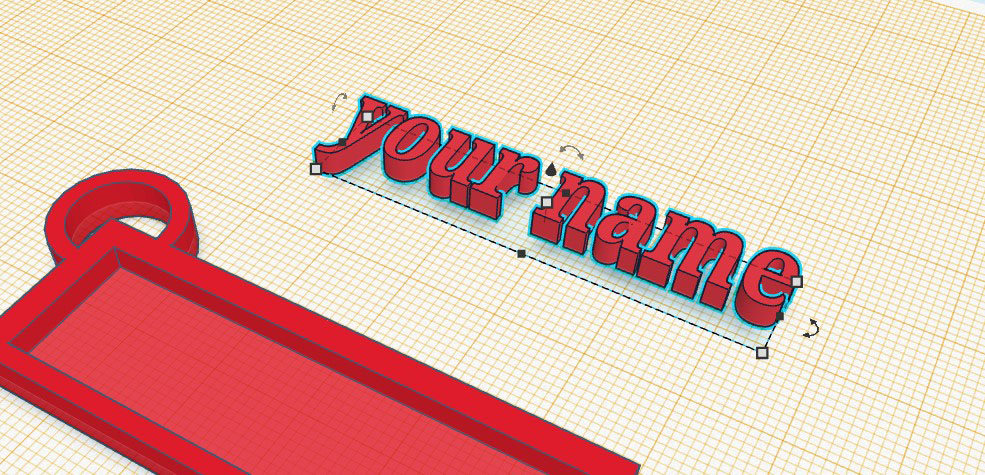
13. Select all the shapes again by clicking and dragging or shift clicking. Group them to combine them. Remove the yellow workplane by selecting the work plane on the right side and clicking anywhere on the plane.
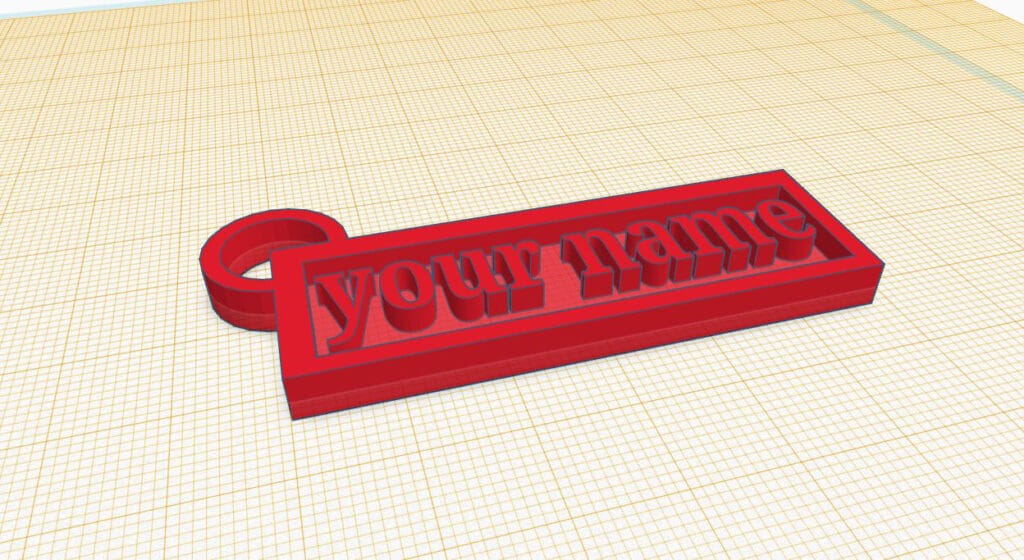
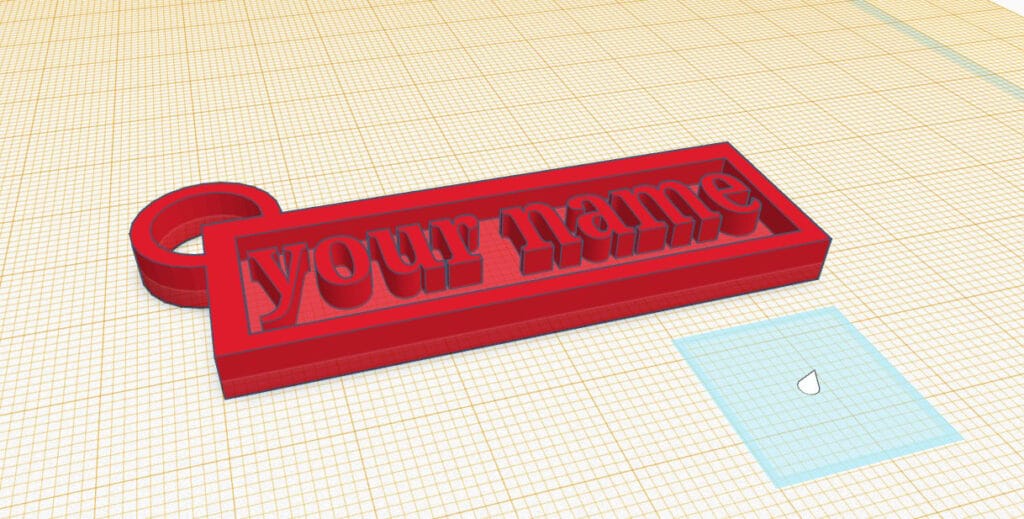
14. Your name tag is now complete! Feel free to browse TinkerCAD’s pre-existing model using the Model Menu on the right side and customize it to your liking!
Email your designs to project@the3dprintingstore.com for the perfect print with a 10% discount if you mention this article. Make sure to tag us on social media and we’ll repost what you create!